A Homeowner's Guide to Attic Insulation Upgrades
Your home's attic is one of the most significant sources of energy loss, yet it's often overlooked. Proper insulation acts as a thermal barrier, keeping your home warmer in the winter and cooler in the summer. An upgrade can lead to substantial savings on utility bills and a more comfortable living environment year-round. Understanding your options is the first step toward a more efficient home.
Why Is Upgrading Attic Insulation a Smart Move?
The primary benefit of a well-insulated attic is improved energy efficiency. In the winter, heat rises and escapes through a poorly insulated attic, forcing your heating system to work harder to maintain a comfortable temperature. In the summer, the sun beats down on your roof, and that heat radiates into your living spaces. Insulation slows this transfer of heat, which can lead to a significant reduction in your monthly heating and cooling costs.
Beyond savings, an insulation upgrade enhances overall home comfort by creating more consistent temperatures throughout the house. It can eliminate cold drafts and hot spots. Furthermore, by reducing the workload on your furnace and air conditioner, proper insulation can help extend the lifespan of your HVAC system. A well-insulated attic also contributes to better moisture control, which can prevent issues like ice dams on the roof during winter.
Exploring Different Insulation Materials
When planning an attic upgrade, you will encounter several types of insulation materials, each with its own set of advantages and disadvantages. The most common choices include fiberglass, cellulose, and spray foam. The right material for your home depends on your budget, climate, and the specific structure of your attic.
- Fiberglass: This is one of the most popular choices, available in pre-cut batts or as loose-fill (blown-in). It is cost-effective and non-combustible. However, it can be an irritant to the skin and lungs during installation.
- Cellulose: Made primarily from recycled paper products, cellulose is a budget-friendly and environmentally conscious option. It is treated with a fire retardant and is excellent for filling small, irregular spaces. It can be prone to settling over time.
- Spray Foam: Polyurethane spray foam provides both insulation and air sealing in one application. It has a very high R-value per inch and is great for sealing leaks, but it is the most expensive option and requires professional installation.
- Mineral Wool: Also known as rock wool, this material is made from rock or industrial slag. It offers excellent fire resistance and sound-dampening properties but typically comes at a higher price point than fiberglass or cellulose.
Decoding R-Value and Climate Zones
R-value is a critical concept in the world of insulation. It is the measurement of a material's capacity to resist heat flow; the higher the R-value, the greater its insulating power. Simply adding insulation is not enough; you need to add the right amount to achieve the recommended R-value for your specific location.
Climate plays a huge role in determining the target R-value for your attic. Colder regions require a higher R-value to prevent heat from escaping during frigid winters, while warmer regions need a sufficient R-value to keep the heat out during summer. Energy efficiency organizations provide maps and charts that recommend attic R-values, which can range from R-38 in warmer climates to R-60 or more in the coldest parts of the country.
Key Factors That Determine Project Costs
The cost of an attic insulation upgrade can vary significantly based on several factors. Understanding these variables can help you create a realistic budget and compare quotes from different contractors. The final price is not just about the material itself; it encompasses a range of services and conditions specific to your home.
- Type of Insulation: Material costs differ greatly. Spray foam is usually the most expensive per square foot, while blown-in fiberglass and cellulose are generally the most affordable options.
- Attic Size and Accessibility: A larger attic will naturally require more material and labor, increasing the overall cost. Difficult access, low clearances, or a complex layout with many obstructions can also drive up labor charges.
- Removal of Old Insulation: If your existing insulation is damaged, wet, or contaminated, it will need to be removed before the new material is installed. This removal process adds a significant cost to the project.
- Air Sealing: For insulation to be effective, it's crucial to seal any air leaks between the living space and the attic. Professionals often include this service, which adds to the cost but dramatically improves performance.
DIY Installation vs. Hiring a Professional
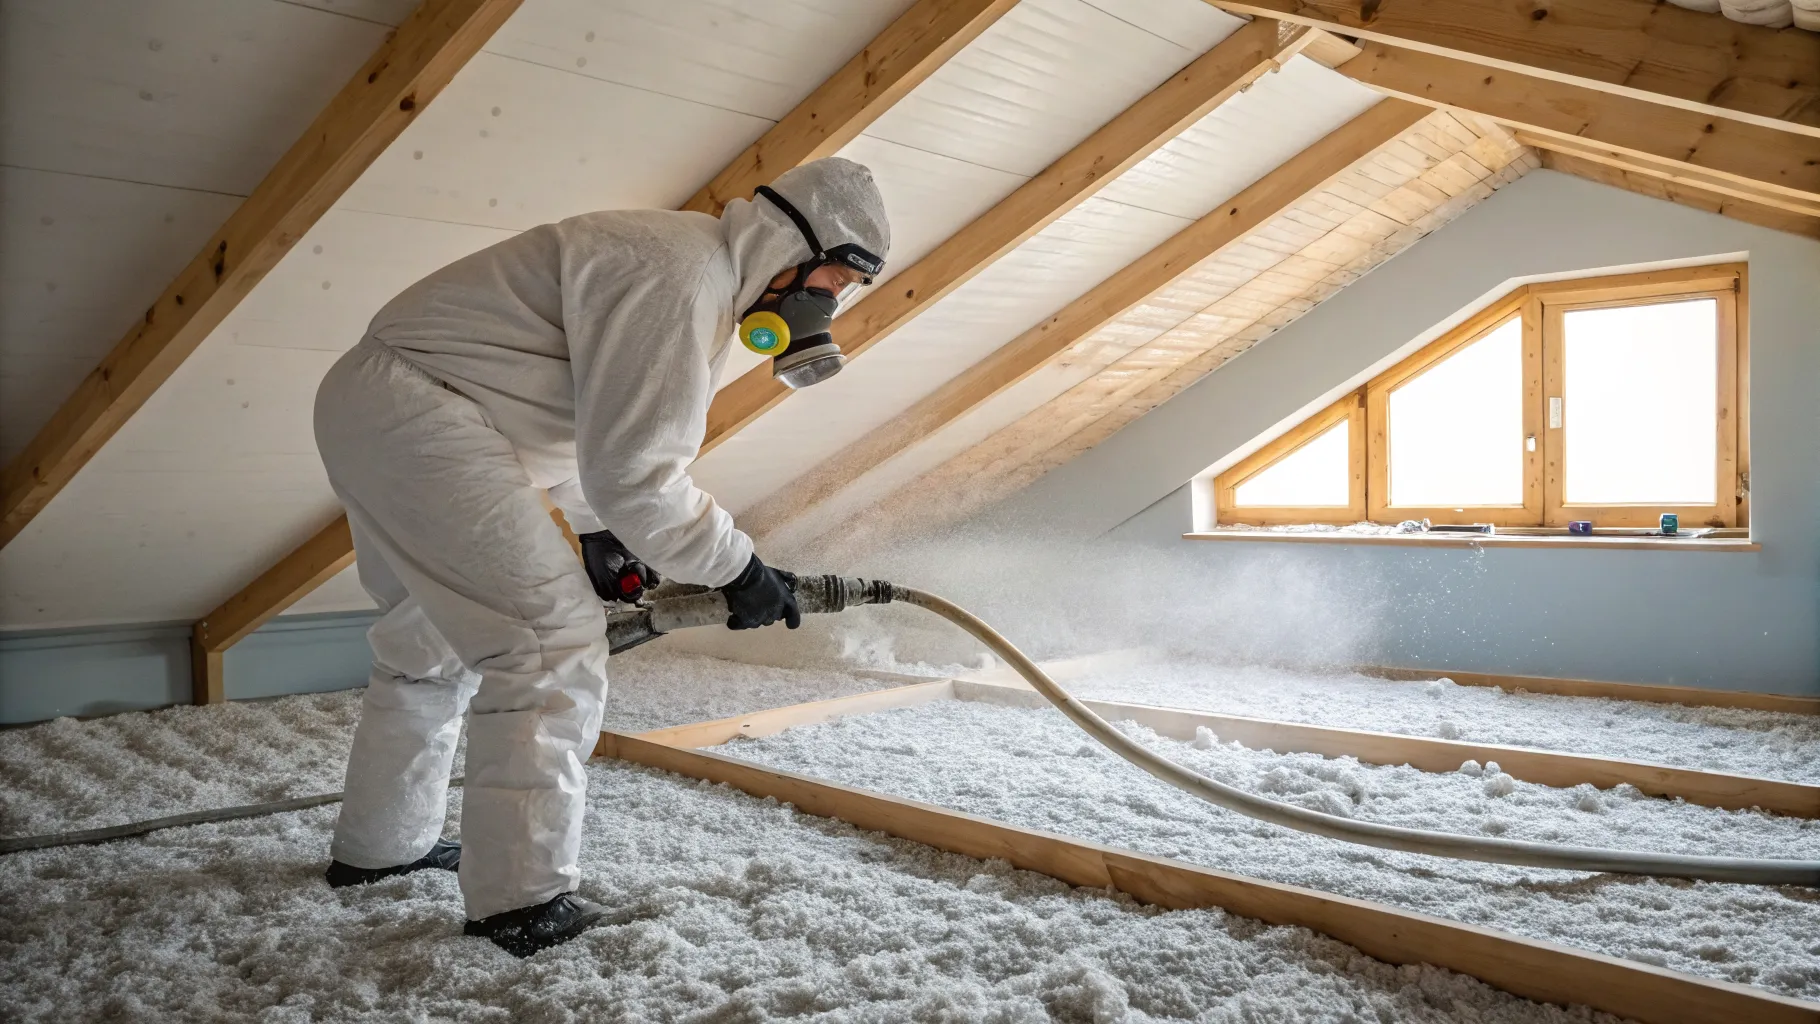
For handy homeowners, a do-it-yourself insulation project might seem like a great way to save money. Using insulation batts or renting a blower for loose-fill insulation are manageable tasks for some. However, the job requires careful attention to safety, including wearing personal protective equipment like a respirator, goggles, and gloves. It's also vital to know where to step to avoid falling through the ceiling and to ensure you don't block any ventilation points like soffit vents.
Hiring a professional contractor often provides peace of mind and a higher-quality result. Professionals have the experience and specialized equipment to complete the job efficiently and safely. They are adept at identifying and sealing air leaks, ensuring proper ventilation, and achieving an even distribution of insulation, which is key for optimal performance. For complex jobs or materials like spray foam, professional installation is essential.
What to Expect During the Upgrade Process
The attic insulation process generally follows a clear set of steps. It begins with a thorough inspection. A contractor will evaluate your current insulation levels, check for any moisture or pest issues, identify air leaks, and assess attic ventilation. Based on this, they will provide a recommendation and a detailed quote for the project.
On installation day, the crew will typically lay down protective coverings to keep your home clean. If necessary, they will remove the old insulation using specialized vacuums. The next step is air sealing gaps and cracks around light fixtures, plumbing pipes, and framing. Finally, they will install the new insulation to the target depth and R-value. The entire process for an average-sized attic can often be completed in one day.
Finding a Qualified Insulation Contractor
Choosing the right contractor is just as important as choosing the right material. A good place to start is by looking for local companies with a solid reputation. It is highly recommended to select a contractor who is licensed and insured. This provides a layer of protection for you and your property during the project.
Do not hesitate to ask for multiple quotes. Getting at least three estimates from different reputable companies will give you a better understanding of the fair market price for your project. When comparing quotes, make sure they are detailed and include the type and amount of insulation to be installed, the final R-value, and any associated costs like air sealing or removal of old material. Checking online reviews and asking for references can also help you make an informed decision.