Master Interior Painting Techniques: 5 Pro Tips for a Perfect Finish
Facts:
- Quality tools ensure a smoother finish.
- Paint demand rises for home renovations for DIY enthusiasts.
Unlocking Flawless Walls: Advanced Interior Painting Techniques
Achieving a truly professional look when painting interiors goes beyond just picking the right color. It requires a strategic approach, precise execution, and an understanding of advanced paint application methods that distinguish a DIY job from a masterpiece. These professional painting tips are designed to elevate your skills, ensuring every surface you touch achieves a consistent, durable, and aesthetically pleasing perfect wall finish. By focusing on detailed preparation and specific application strategies, anyone can master these techniques for impressive results.
1. Mastering Surface Preparation: The Foundation of a Flawless Finish
The secret to any lasting and beautiful paint job begins long before the brush ever touches the wall: it's all about meticulous surface preparation for painting. This critical first step ensures adhesion, durability, and a smooth appearance. Start by cleaning the walls thoroughly to remove dust, grease, and grime. A mild detergent solution followed by a clean water rinse is usually sufficient. Next, inspect for imperfections. Fill all holes and cracks with spackle or joint compound, sanding them smooth once dry. Don't skip sanding; a rough patch will show through even the thickest paint. For glossy surfaces or areas prone to chipping, a light sanding with fine-grit sandpaper will create a 'tooth' that helps the primer and paint adhere better, making this one of the most vital interior painting techniques for longevity.
2. The Art of Priming: Setting the Stage for Success
Priming is often overlooked but is fundamental for achieving a superior perfect wall finish. Primer serves multiple purposes: it seals porous surfaces, blocks stains, promotes adhesion, and creates a uniform base color for the topcoat. For new drywall or patched areas, a good quality primer is non-negotiable. If you're switching from a dark color to a light one, or painting over glossy surfaces, a tinted primer can drastically reduce the number of topcoats needed, saving time and paint. Different primers exist for different needs – stain-blocking primers for water stains, bonding primers for difficult surfaces like ceramic tile or laminate. Choosing the correct primer is a key component of effective paint application methods and directly impacts the final look and durability of your interior painting project.
3. Precision Edging and Cutting In: The Mark of a Pro
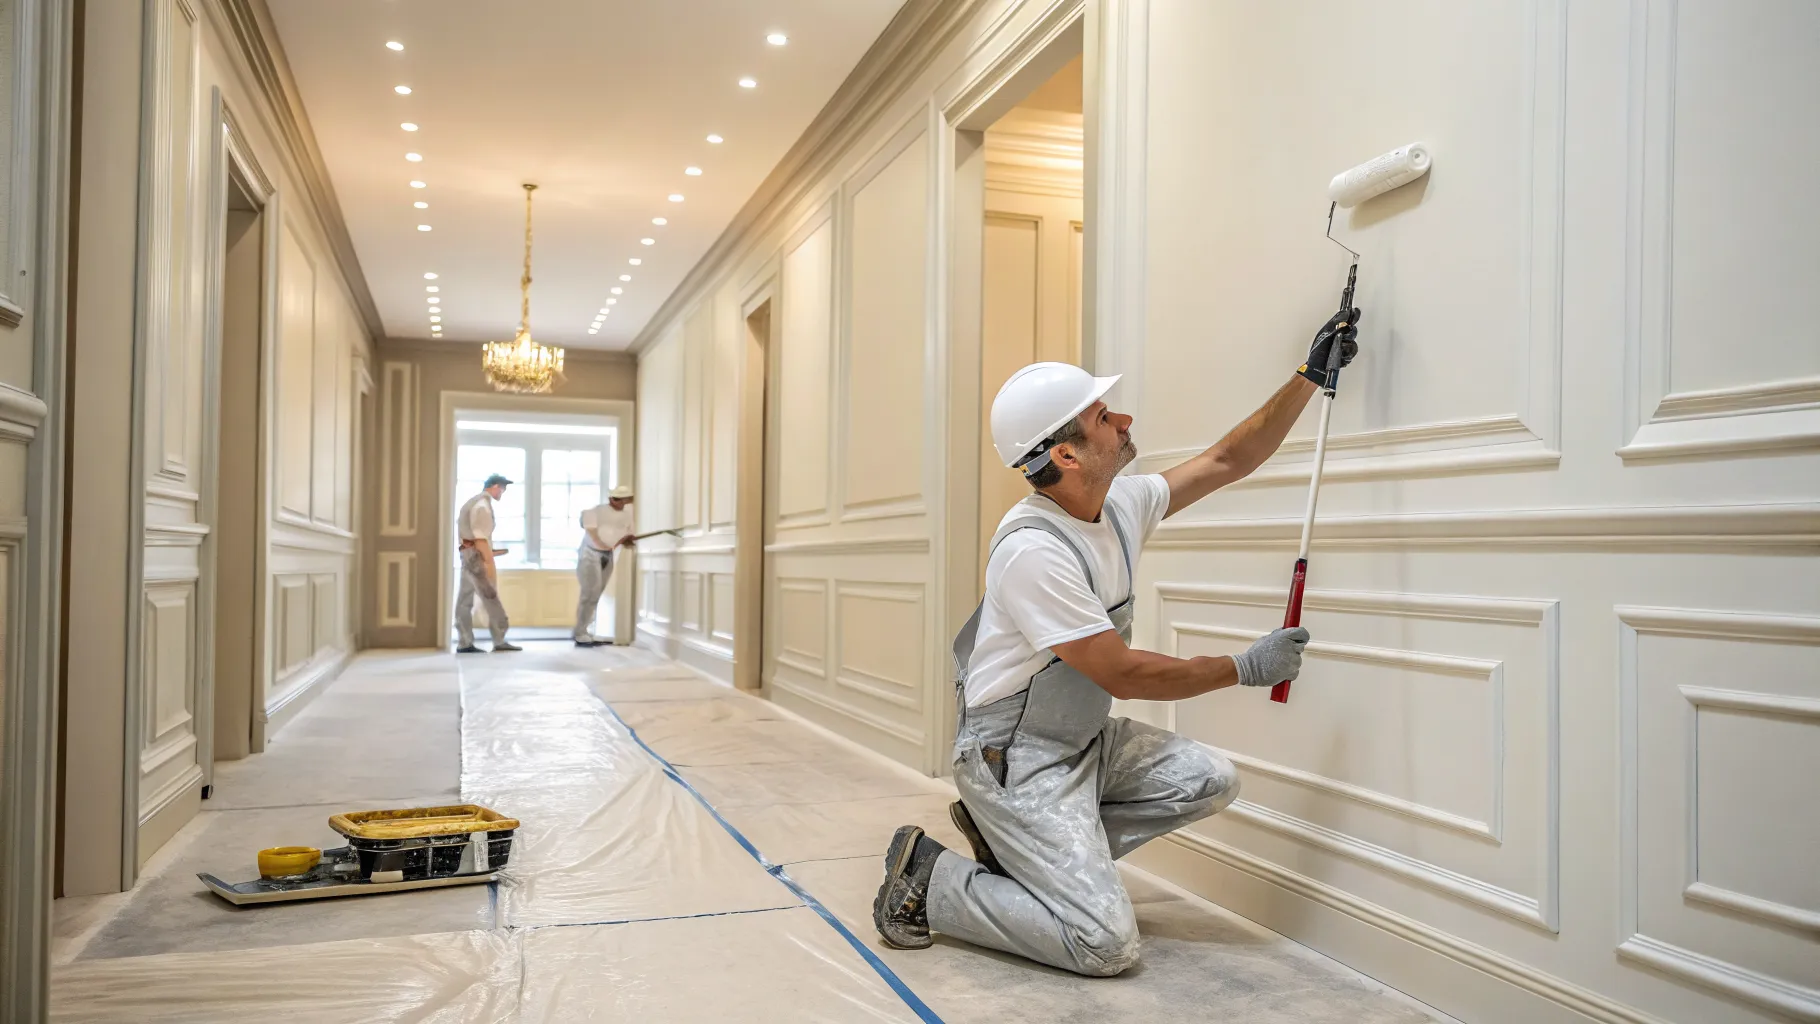
Achieving clean, crisp lines where walls meet ceilings, trim, or other walls is a hallmark of professional painting tips. This technique, known as 'cutting in' or 'edging', requires a steady hand and the right tools. Use a high-quality angled brush (typically 2-2.5 inches) for maximum control. Load the brush with paint, but don't overload it. Start about an inch away from the edge, then slowly move towards the line, allowing the bristles to gently fan out and create a smooth, straight edge. Maintain a consistent pressure and work in small sections. Some professionals prefer to freehand, while others use painter's tape for extra security. Regardless of your method, practicing this specific interior painting technique will dramatically improve the overall neatness and professionalism of your finished room.
4. Efficient Rolling Techniques: Covering Ground with Grace
Once your edges are cut in, efficient rolling ensures a uniform and smooth paint application across large surfaces. The key is to avoid lap marks and achieve even coverage. Use a high-quality roller cover appropriate for your paint type and surface texture. Load the roller evenly, removing excess paint on the tray's grid. Begin rolling in a 'W' or 'M' pattern, gradually filling in the unpainted areas without lifting the roller off the wall. Overlap each pass slightly (about half the roller width) to prevent visible lines. Maintain a 'wet edge,' meaning always roll into a freshly painted section before it dries. This systematic approach is crucial for flawless paint application methods, preventing streaks and ensuring a consistent perfect wall finish across your entire wall or ceiling.
5. Achieving a Uniform Finish with Advanced Strokes: The Final Touch
Beyond basic rolling, advanced stroke techniques are what truly distinguish a professional painter. To prevent textural variations, always finish each section with a light, uniform stroke in one direction (usually top to bottom). This 'laying off' technique evens out any roller marks and ensures the paint dries with a consistent sheen and texture. For highly visible areas or tricky lighting, consider back-rolling, where a final, very light pass with a nearly dry roller is made over the entire painted area. Understanding how environmental factors like temperature and humidity affect drying times also plays a role in adapting your strokes to maintain a wet edge and achieve a truly exceptional interior painting technique. This attention to detail ensures your interior painting project looks consistently superb from every angle.
When selecting paint and equipment for your interior painting project, consider the subtle differences that can impact your perfect wall finish. For instance, high-quality synthetic brushes are ideal for water-based paints, providing excellent control and leaving fewer brush marks, crucial for intricate details when employing various paint application methods. Natural bristle brushes, on the other hand, excel with oil-based paints, offering superior paint pickup and smooth release. Regarding rollers, a shorter nap (e.g., 1/4 to 3/8 inch) is best for smooth surfaces, resulting in a fine, virtually texture-free finish. Longer naps (1/2 inch or more) are suitable for textured walls, holding more paint and reaching into crevices. Investing in the right tools is as important as mastering the interior painting techniques themselves, as they significantly contribute to the efficiency and quality of your work. Furthermore, the type of paint, such as low-VOC or zero-VOC options, not only impacts the environment but also the application process, often requiring careful consideration during surface preparation for painting due to different drying times and coverage characteristics. Always read product labels for specific recommendations tailored to your chosen paint and primer system, guaranteeing the best possible outcome for your interior painting project.
Key Takeaways for Your Next Interior Painting Project
- Thorough Surface Preparation is Non-Negotiable: Dedicate ample time to cleaning, patching, and sanding. A smooth, clean surface is the cornerstone of any beautiful perfect wall finish.
- Strategic Priming Saves Time and Improves Finish: Don't skip primer, especially on new or repaired surfaces, or when changing colors dramatically. It enhances adhesion and ensures consistent color.
- Master Edging for Professional Lines: Practice your cutting-in technique with a quality angled brush to achieve crisp, clean lines without painter's tape if possible. This is a tell-tale sign of skilled interior painting techniques.
- Utilize Efficient Rolling Techniques: Employ the 'W' or 'M' pattern and maintain a wet edge to ensure uniform coverage and avoid lap marks across large wall areas.
- Adopt Advanced Finishing Strokes: Finish each section with a light, top-to-bottom stroke to eliminate roller marks and achieve a perfectly consistent texture and sheen throughout your interior painting project.
- Invest in Quality Tools and Materials: High-quality brushes, rollers, and paint will not only make the job easier but also contribute significantly to the durability and aesthetic appeal of your perfect wall finish.
Frequently Asked Questions
What are the most crucial interior painting techniques for beginners?
For beginners, focusing on thorough surface preparation for painting, using painter's tape for clean edges (instead of freehand cutting-in), and understanding efficient paint application methods with a roller (like the 'W' pattern) are the most crucial techniques. These foundational skills prevent common mistakes and build confidence for more advanced tasks.
How can I achieve a perfect wall finish without visible brush or roller marks?
To avoid marks, ensure your paint is applied evenly, maintain a 'wet edge' when rolling, and use a final, light 'laying off' stroke with your roller in one direction. Also, use high-quality tools and allow proper drying time between coats. Don't overwork the paint, as this can lead to visible marks and an uneven texture in your interior painting project.
Is primer always necessary for an interior painting project?
While not always strictly necessary, primer is highly recommended for optimal results. It's essential for new drywall, over patched areas, when changing paint colors drastically (especially dark to light), or painting over glossy surfaces. Primer improves paint adhesion, durability, and creates a uniform base, which contributes to a professional perfect wall finish.
What are some professional painting tips for high-traffic areas?
For high-traffic areas, use durable, washable paints (like satin or semi-gloss finishes) and ensure your surface preparation for painting is impeccable. These areas benefit from multiple thin coats rather than one thick one for enhanced durability. Consider using scuff-resistant paints if available, as they offer additional protection against wear and tear in your interior painting project.
What's the best way to clean walls before an interior painting project?
Before an interior painting project, clean walls with a mild detergent solution (like sugar soap or TSP substitute) mixed with warm water. Use a sponge or soft cloth to wipe down the walls, then rinse with clean water to remove any residue. Allow the walls to dry completely before beginning any paint application methods or priming to ensure proper adhesion.
References
- The Art and Science of Interior Painting. John Wiley & Sons.
- Modern Paint Technology and Application. Elsevier.
- Home Renovation Handbook: Painting and Decorating. Taunton Press.
- Professional Painter's Guide to Flawless Finishes. Craftsman Book Company.
- Surface Preparation Standards for Residential Coatings. ASTM International.